The Joy of Homemade English Muffins: A Classic Recipe Worth the Effort
There’s something magical about biting into a homemade English muffin, warm from the griddle, its craggy surface perfect for catching pools of melted butter and dollops of jam. These humble, yeasty rounds have a rich history that’s rooted in simplicity and comfort—perfect for cozy mornings or indulgent brunches. Today, we’re taking you step-by-step through making these delightful muffins from scratch. Trust me, once you’ve tasted fresh English muffins, the store-bought version won’t compare.

The Story Behind the Muffin
Legend has it that English muffins were a staple of Victorian England, popularized as an affordable yet satisfying snack for workers. They were cooked on hot griddles, a technique that yields their signature texture: a chewy crust with soft, airy interiors. For me, the process of making them feels almost meditative—the gentle kneading, the fragrant proofing dough, and finally, the satisfying hiss as each muffin hits the griddle.
Making English muffins at home is not difficult, but it does take patience. This recipe is a nod to tradition while offering simple steps for modern bakers. So roll up your sleeves, dust off your skillet, and let’s bring some bakery magic into your kitchen.

Classic English Muffin Recipe
Our recipe today utilizes active dry yeast that you can purchase at a grocery store. If you have an active Sourdough Starter, and would like to try your hand at sourdough English Muffins, Click Here for an amazing recipe from our friend Miranda of BreadAndHappiness.
This recipe makes about 10 muffins.
Ingredients:
- 1 ½ cups whole milk, warmed
- 1 tablespoon granulated sugar
- 2 ¼ teaspoons active dry yeast (1 packet)
- 1 large egg, lightly beaten
- 3 tablespoons unsalted butter, melted
- 4 cups all-purpose flour
- 1 teaspoon salt
- Cornmeal, for dusting
Instructions:
1. Activate the Yeast Warm the milk until it’s just slightly warm to the touch (about 110°F). Stir in the sugar, then sprinkle the yeast on top. Let it sit for 5–10 minutes until foamy—this step ensures the yeast is alive and ready to work its magic.
2. Make the Dough In a large bowl, combine the foamy yeast mixture, beaten egg, and melted butter. Gradually add the flour and salt, mixing until a sticky dough forms. Turn it out onto a floured surface and knead for about 8–10 minutes until the dough is smooth and elastic.
3. First Rise Place the dough in a lightly oiled bowl, cover it with a damp cloth or plastic wrap, and let it rise in a warm spot for about 1–1.5 hours, or until doubled in size.
4. Shape the Muffins Once risen, punch down the dough and roll it out to about ¾-inch thickness on a floured surface. Use a round cutter (about 3 inches in diameter) to cut out muffins. Reroll scraps as needed. Place the cut muffins on a baking sheet dusted with cornmeal, ensuring they don’t touch. Sprinkle the tops with more cornmeal and cover loosely. Let them rest for 30 minutes.
5. Cook on the Griddle Heat a nonstick skillet or griddle over medium-low heat. Add the muffins in batches, cooking for 5–7 minutes per side until golden brown and cooked through. The key is low heat—too hot, and the outside will burn before the centers are done. If you’re unsure, use a thermometer to check: the internal temperature should reach 200°F.
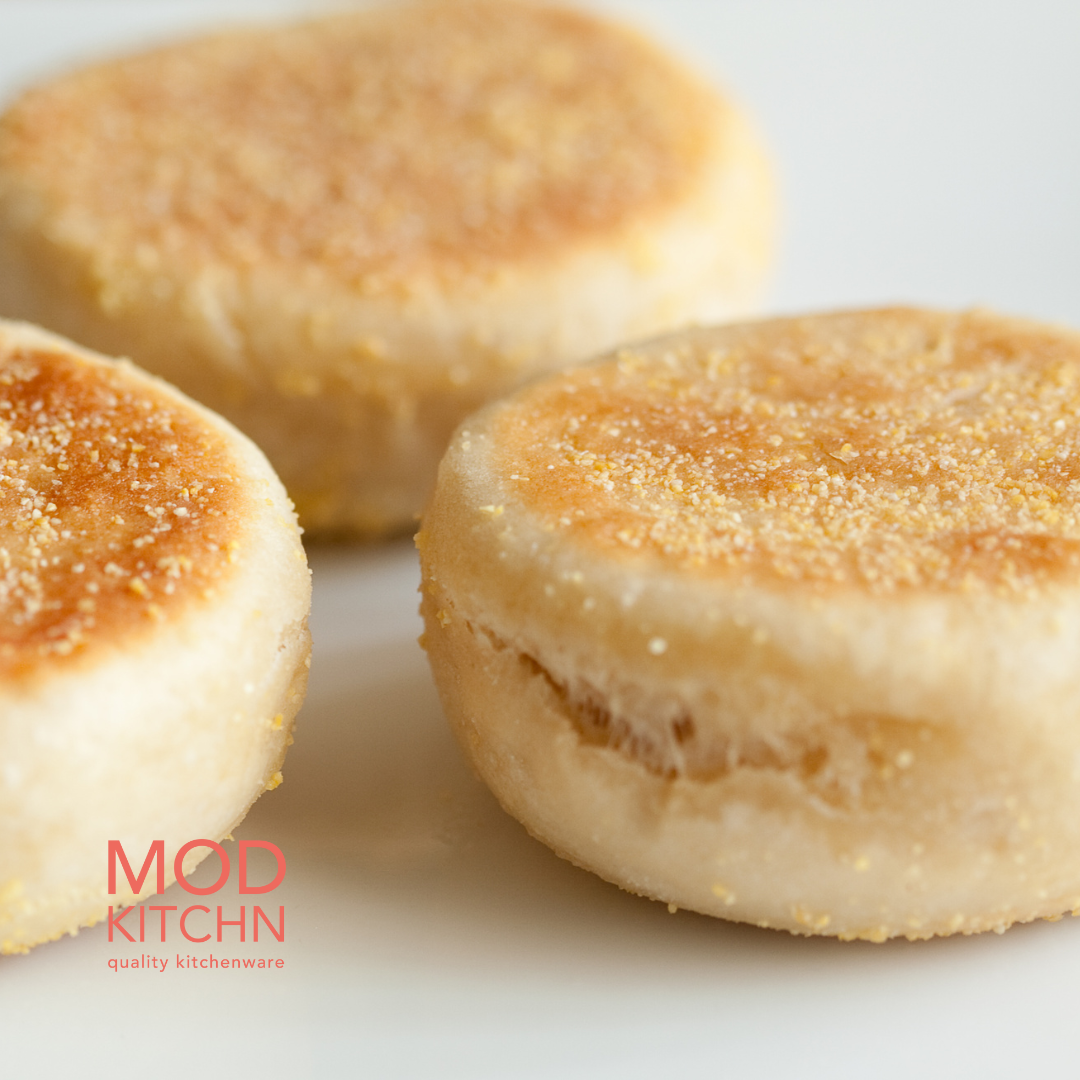
6. Cool (If You Can Wait!) Transfer the muffins to a wire rack to cool. To split them open, use a fork to gently perforate the edges, which preserves the signature nooks and crannies. Serve warm with butter, jam, or even as the base for eggs Benedict.
A Few Tips for Perfect Muffins:
- Cornmeal is Essential: It keeps the dough from sticking and adds a slight crunch to the exterior.
- Patience Pays Off: Don’t rush the proofing or cooking—slow and steady ensures the best texture.
- Storage Plan: Fresh muffins can be stored in ModKitchn reusable bread bags to maintain their softness or frozen for later use.
