
Perfect Sourdough Sandwich Bread Recipe: Soft, Fluffy, and Easy to Make
The search for the perfect, fluffy sourdough sandwich bread started with my love of a reliable yeast-based recipe and knowing I could bring the magic of sourdough and bulk fermentation. While my go-to yeast bread has always been a hit, I couldn’t resist the idea of crafting a practical sourdough loaf that combines great flavor with an everyday ease. I tested two different recipes—one using olive oil and the other butter—and quickly found that the butter-based version delivered the soft, airy texture I was looking for. After tweaking the measurements and techniques just a bit, I finally landed on a loaf that both my family and I adore.
This sourdough sandwich bread has simple ingredients you likely already have on hand: all-purpose flour, unsalted butter, a teaspoon of sweetener, a dash of salt, water, and, of course, your trusty sourdough starter. While using a stand mixer makes the process more convenient, you can definitely mix and knead the dough by hand with a little extra effort. This is a loaf I’ll be baking regularly from now on, and I’m sure it’ll become a staple in our kitchen!

Recipe
Ingredients
- 500 g (4 cups) all-purpose flour (I prefer unbleached)
- 60 g (4 tbsp) unsalted butter, room temperature and chopped into small cubes
- 12 g (1 tbsp) sugar or other sweetener like honey or maple syrup
- 9 g salt (my preference is sea salt)
- 75 g sourdough starter
- 265 g warm filtered water (around 100℉)
Equipment
- 9 x 5 inch loaf pan, lightly greased with butter
- Stand mixer with paddle attachment and dough hook
Note on Baking Schedule: This dough requires a bit of patience, as the first rise takes approximately 10-12 hours, followed by a second rise that can take anywhere from 90 minutes to 3 hours, at an ambient temperature of around 68-70°F. I find it convenient to start the dough in the evening, allowing it to rise overnight. Then, in the morning, I shape the dough, let it go through its second rise, and then bake it. However, if you'd prefer, you can start in the morning and have a freshly baked loaf by evening. Keep in mind that if your home is warmer than 70°F, the rising times may be shorter, so you'll want to keep an eye on the dough's progress.
Instructions
Mix the Dough: Using a stand mixer with the paddle attachment, start by mixing the butter cubes, flour, sugar, and salt on low speed until everything is well combined. You’ll notice the butter beginning to break down, creating a crumbly texture within the flour mixture. Next, add your sourdough starter and warm water. Continue mixing on low speed until all the flour is absorbed and no dry spots remain. At this point, the dough will look shaggy and feel a bit sticky—this is perfectly normal and exactly what you're looking for!

Let the Dough Rest: Once the dough is mixed, cover the bowl with plastic wrap or a damp tea towel. Let the dough rest for approximately 30 minutes. This resting period allows the flour to fully hydrate and helps develop the dough's structure before kneading.
Knead: After the dough has rested, switch the mixer to a dough hook and set it to medium-low speed (around #3 on a KitchenAid). Let the mixer run for 6-8 minutes, or until the dough becomes soft, smooth, and non-sticky to the touch.
If you're making two loaves simultaneously, keep in mind that not all stand mixers are powerful enough to handle that much dough, so it may require extra care or splitting the batch.
If you don’t have a stand mixer, you can knead the dough by hand for 8-10 minutes until it reaches the same soft, elastic texture.
Bulk Rise: After kneading, recover the bowl with plastic wrap or a damp tea towel. Let the dough rise on your counter at room temperature for approximately 10-12 hours, or until it has visibly doubled in size. This slow rise allows the flavors to develop and gives the dough time to ferment properly.

Shape the Dough: Place the dough on a lightly floured surface and gently press it to release any large air bubbles. Shape the dough into a rough rectangle, ensuring the short side is just slightly less than 9 inches so it fits well into your loaf pan. Starting from the short end, begin rolling the dough into a log, keeping in mind that you're aiming to create surface tension. As you roll, use a roll-and-pull motion to gently stretch the surface of the dough.
After the initial roll, use a bench knife and your hands to continue creating surface tension by softly pushing the top/sides under—this should be a very gentle process.
Finally, place the shaped loaf in your loaf pan, seam side down.
Second Rise: Cover the dough with plastic wrap and let it rise at room temperature until the top of the dough has risen to about 1 inch above the edge of the loaf pan. This second rise typically takes anywhere from 1 to 3 hours, depending on the ambient temperature. Keep an eye on the dough, as warmer environments will speed up the rise, while cooler temperatures will slow it down.

Bake: Preheat your oven to 475°F. As soon as you place the dough in the oven, reduce the temperature to 375°F—this technique helps achieve extra oven spring.
Bake for 40-50 minutes, or until the loaf is golden brown.
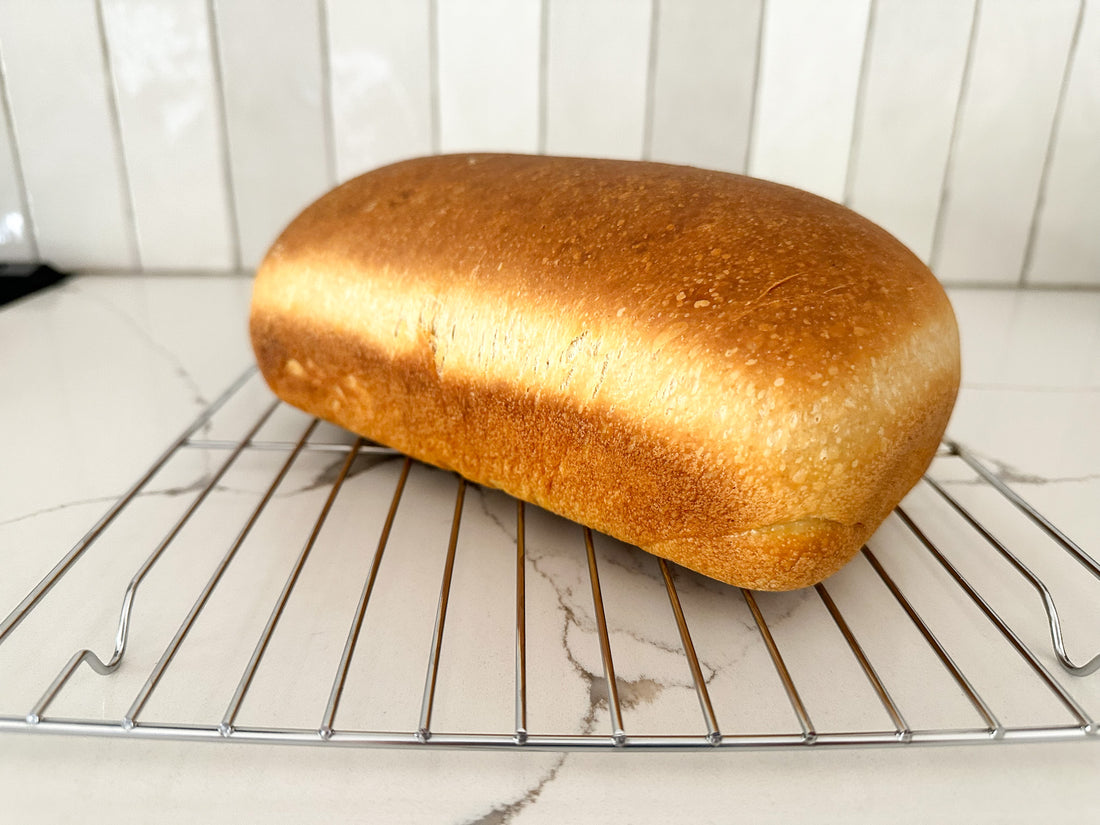
Once baked, let the loaf cool in the pan for 10 minutes, then transfer it to a wire rack to cool completely.

Storage: The bread will stay fresh in our bread bags for up to 7 days on the counter or can be stored in the freezer for several months.

I hope this recipe becomes the easy, go-to sourdough sandwich loaf you’ve been craving. With its simple ingredients, straightforward process, and delicious results, I’m confident it will find a regular place in your baking routine—just as it has in mine. Happy baking, and may this loaf bring you and your loved ones many delicious sandwiches ahead!